# Publish
# Publish a Concept
To publish a Concept, go to the Concept page with the navigation menu.
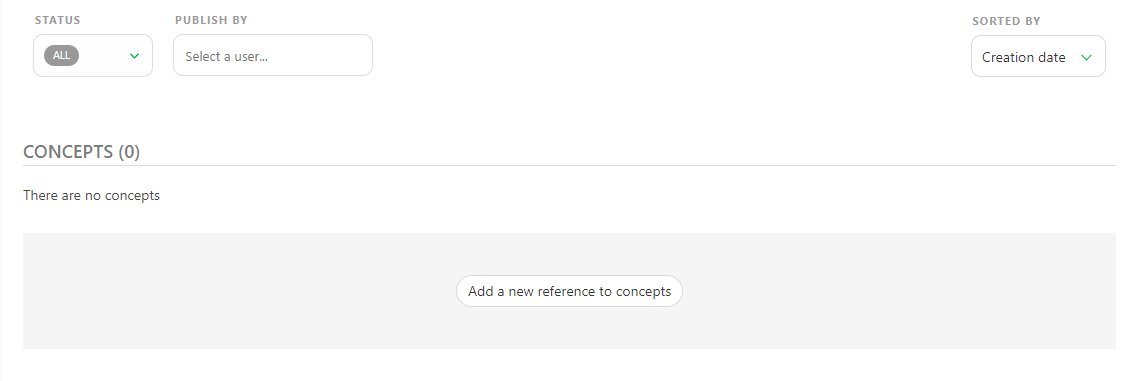
To upload a concept, click the Add a new reference to concepts button.
You can upload one or several concepts at the same time.
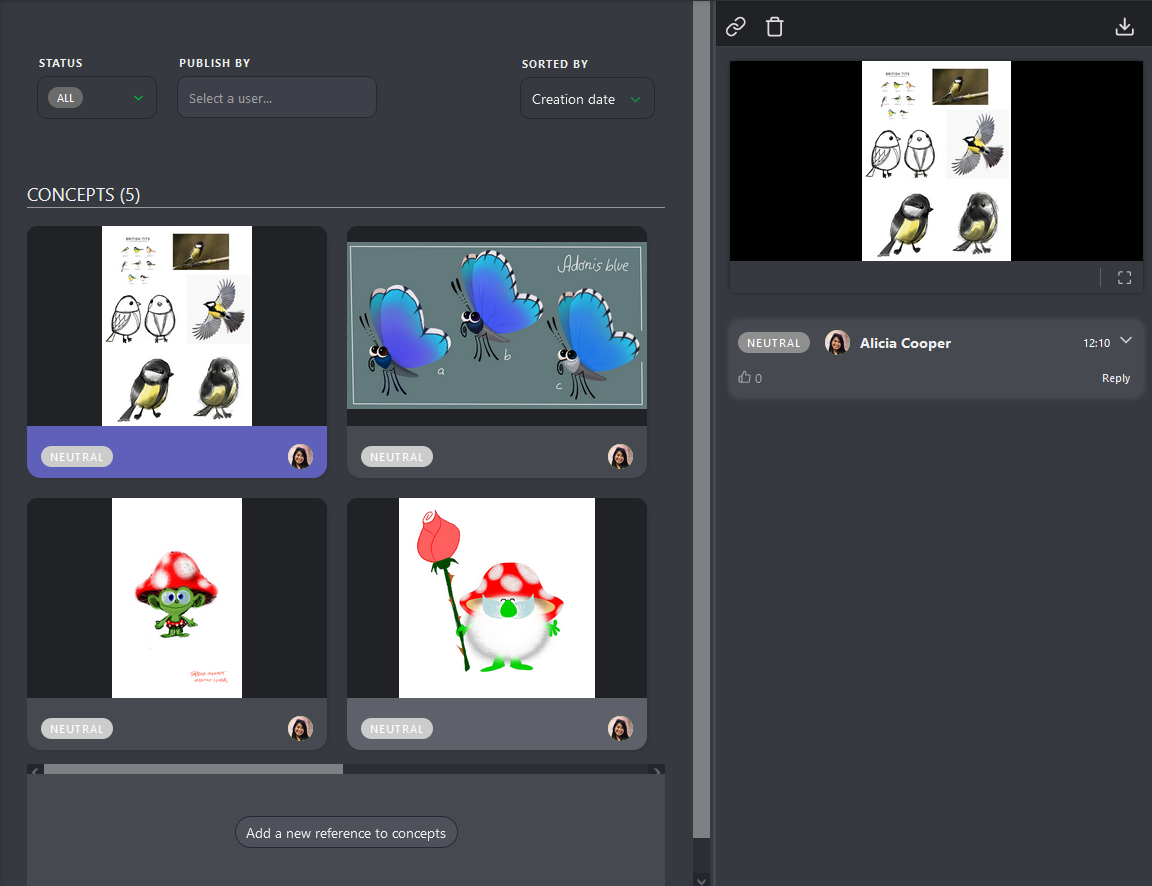
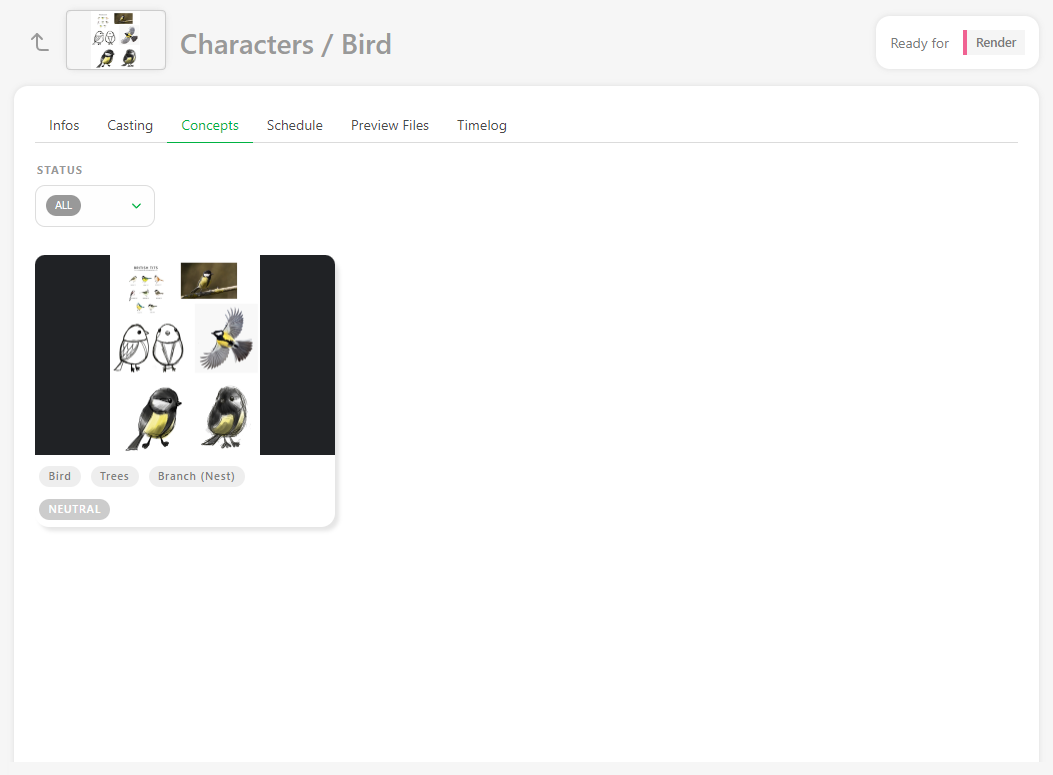
Once you upload your previews, the concept page will look like this.
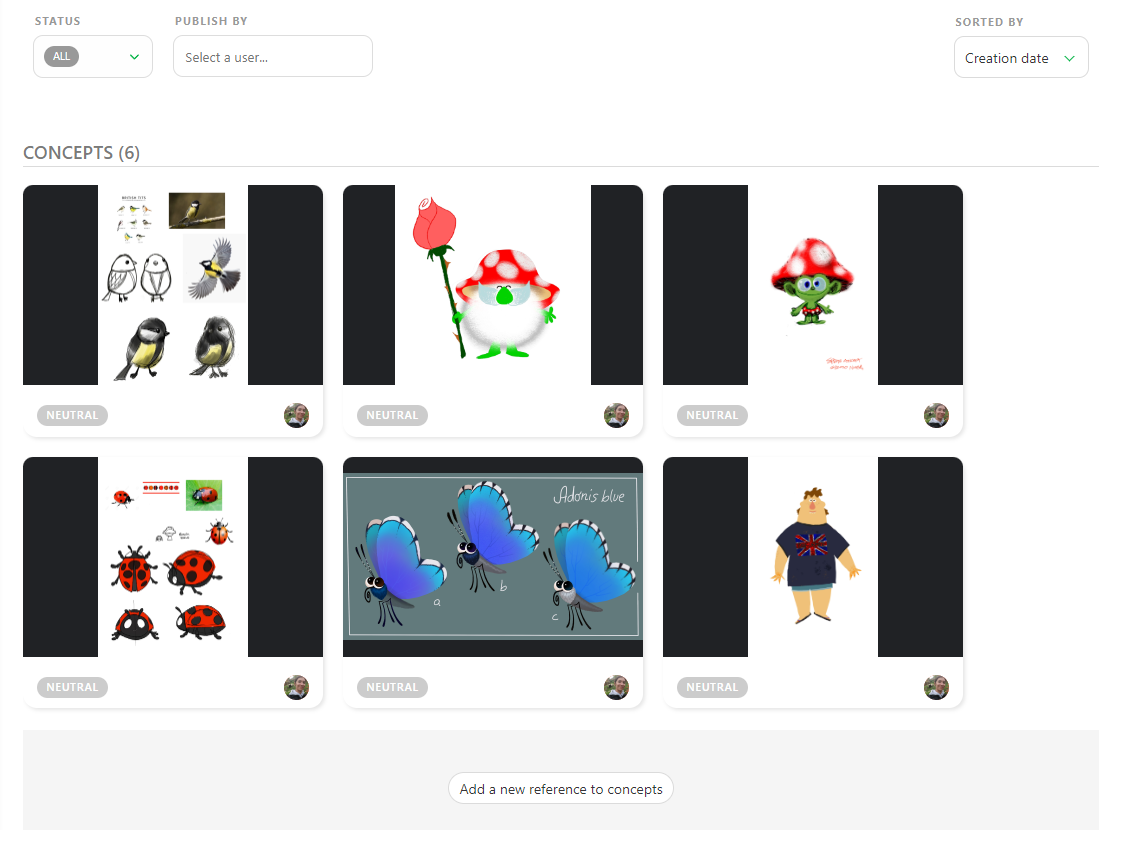
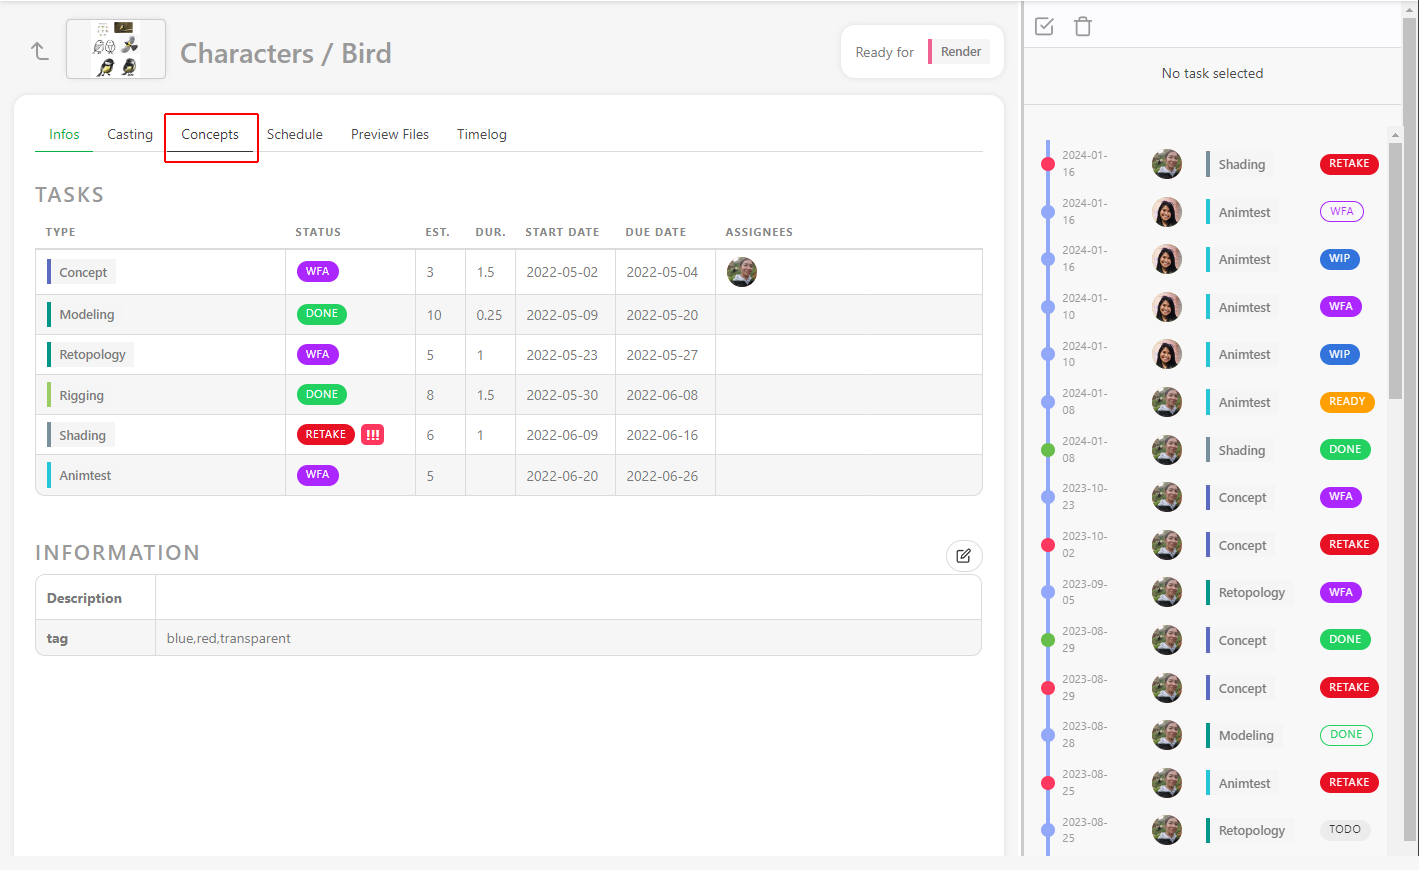
You can interact with the concept in two ways: click on the picture to see an enlarged view. The second is to click on the status part to open the Comment Panel on the right.
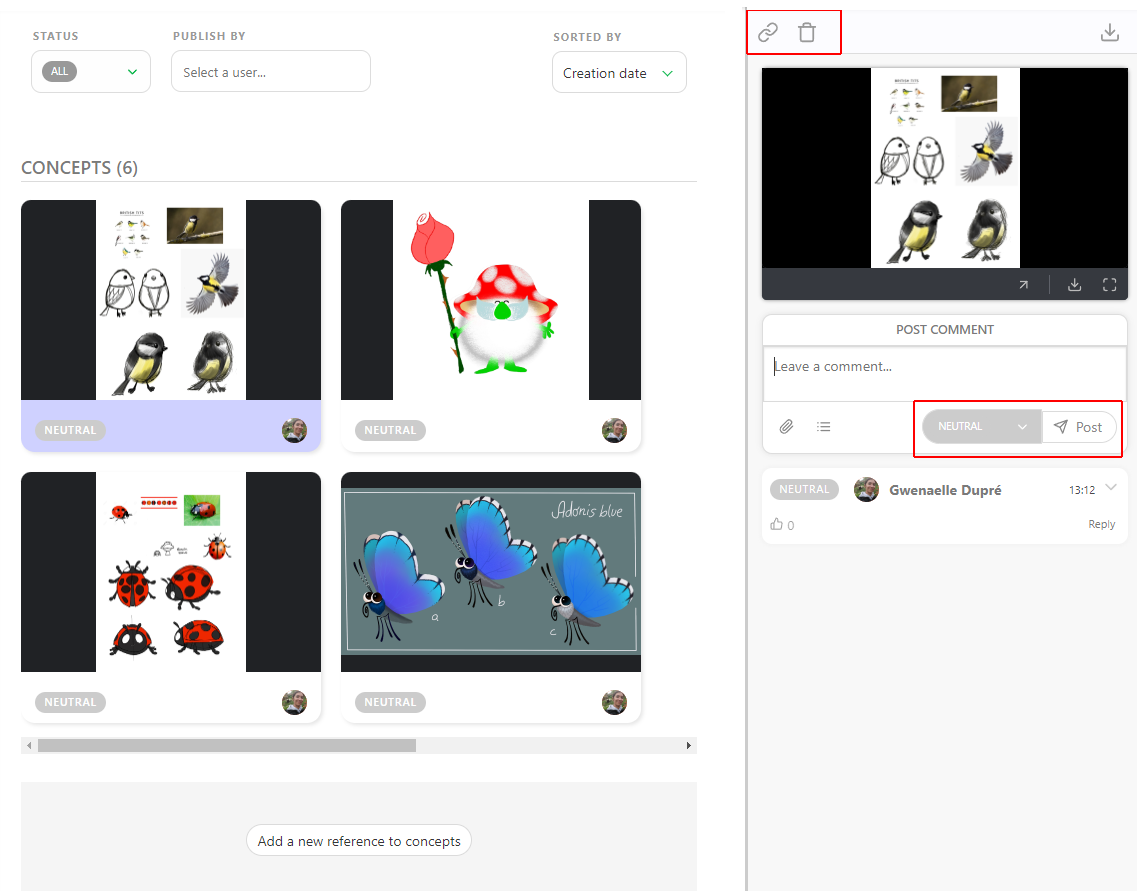
You have two options on the comment panel: link a concept with an existing asset or delete the concept. You can also comment and change the status of the asset.
The idea is to have one Version per Concept. If it's not validated, you need to upload a new concept, not to have multiple versions of the same concept.
One concept is one task.
# Link a Concept to an Asset
Once concepts are uploaded, you can link them to the assets.
You can see the links on the status part of the assets.
Click on the status part of the concept; it will open the comment panel on the right.
On the comment panel, you have two options at the top: Link a concept to an asset and delete the concept.
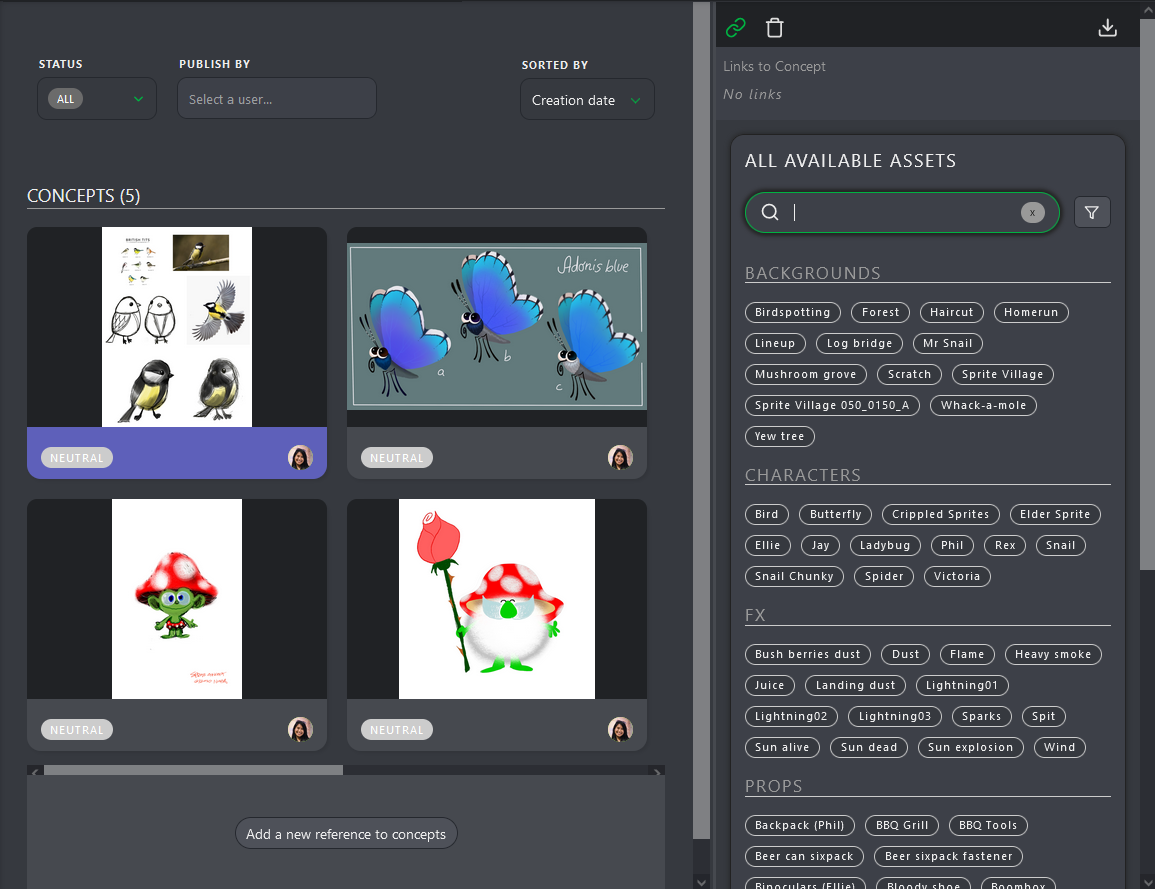
To link an asset, click on the Link  button.
Kitsu will display all the Assets available to link with the concept uploaded.
Kitsu will list the linked assets at the top of the comment panel. For now, there are No Links.
To link an asset, click on it. The linked assets' names will appear at the top of the screen under the preview of the concept.
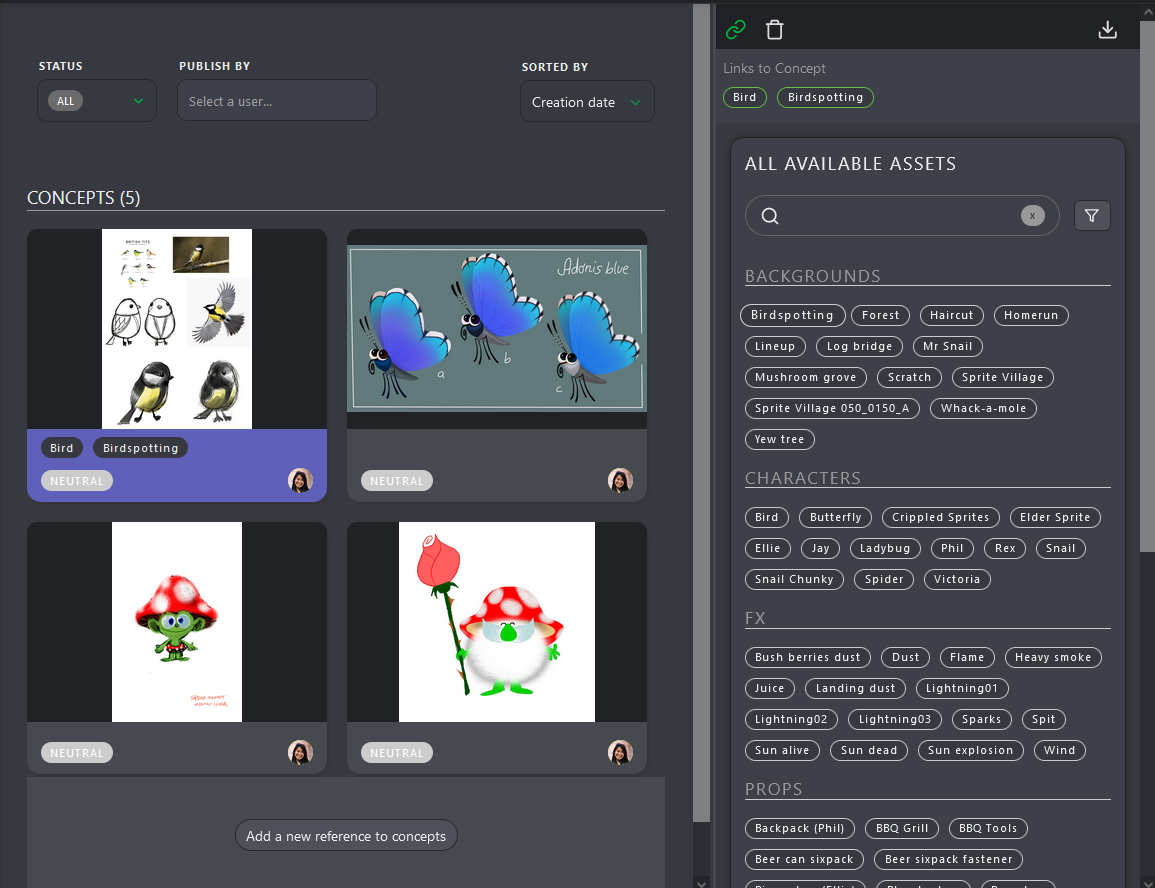
Once a concept is linked to an asset, it can be seen on the asset's detail page.
Return to the asset page, and click on the asset name you want to see the concept.
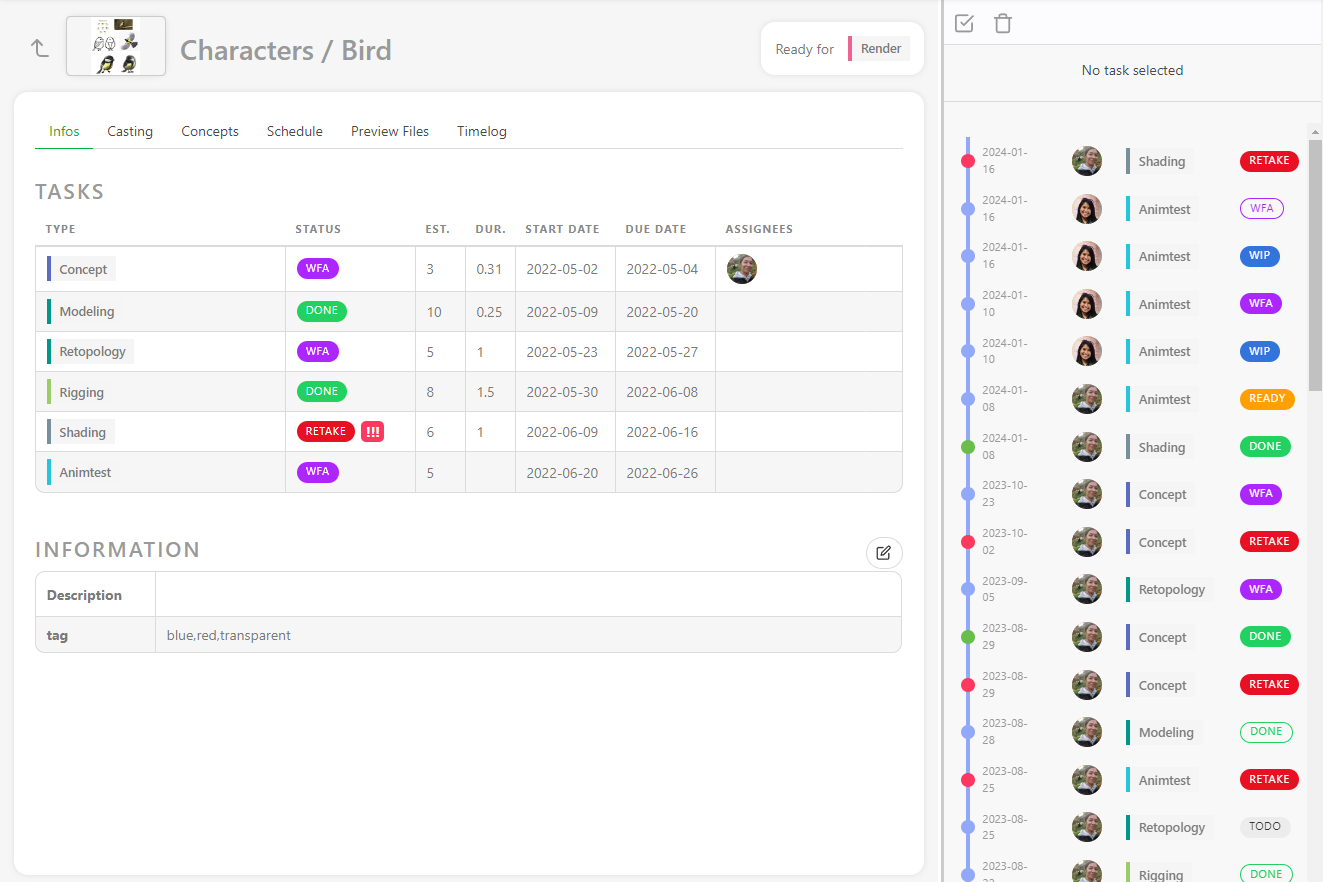
Per default, the casting detail is displayed on the second part of the screen. Use the dropdown menu to choose the concept.
Once in the concept section, you will see all the concepts created for this asset. You can filter them per status.
# Publish a Preview as a Version
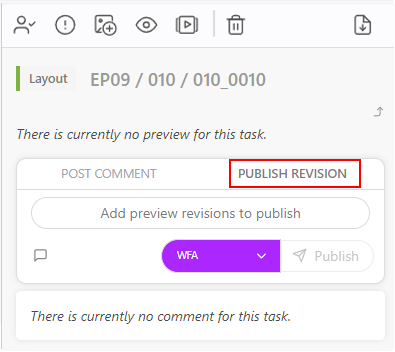
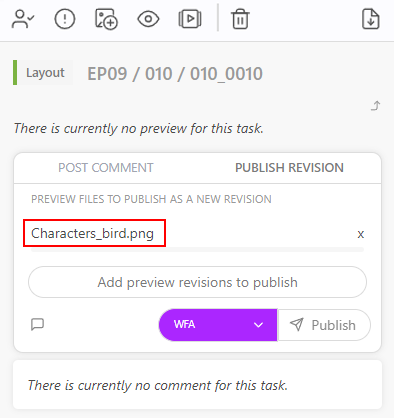
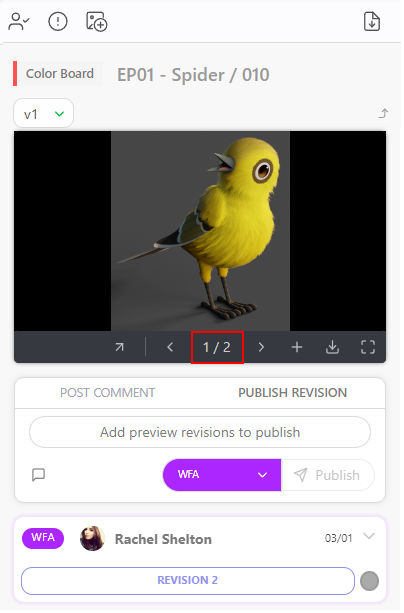
To publish a preview, picture, or video, select the PUBLISH REVISION tab on the task's comment panel.
Kitsu will automatically switch to the Publish Revision tab when you use status with the option IS FEEDBACK REQUEST, like the WFA Status.
You can add one or several previews to any comments. It can be a picture (.png, .jpg, .jpeg, .gif), a video (.mp4, .mov, .wmv),
or an .glb file. You can review all the previews from the browser or mix everything.
You can also review the .glb file as a wireframe or add a .HDR file to check the lighting.
See the Customization section for more details. Pipeline Customization
Other files like .pdf, .zip, .rar, .ma, or .mb, however, need to be
downloaded to be reviewed.
Then, click on the Add preview revision to publish button. The explorer opens and lets you choose your file or several files.
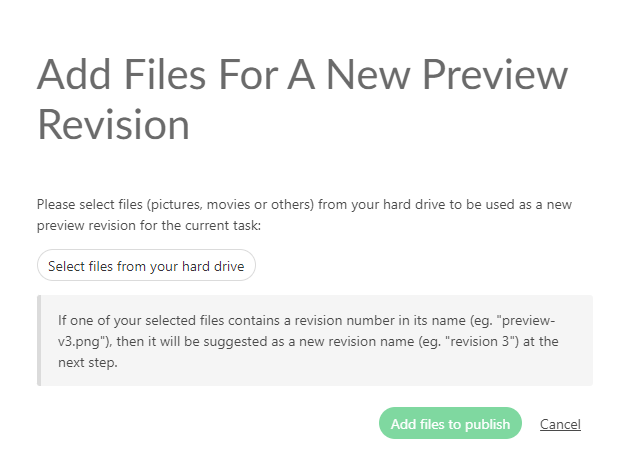
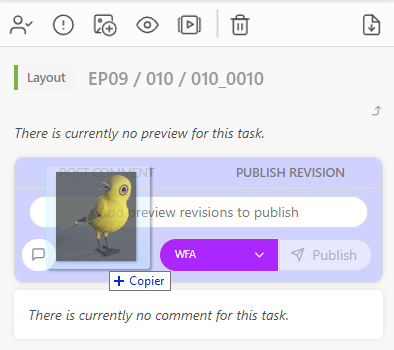
You can also copy-paste a screenshot to this screen.
You will see a preview of the attached files.
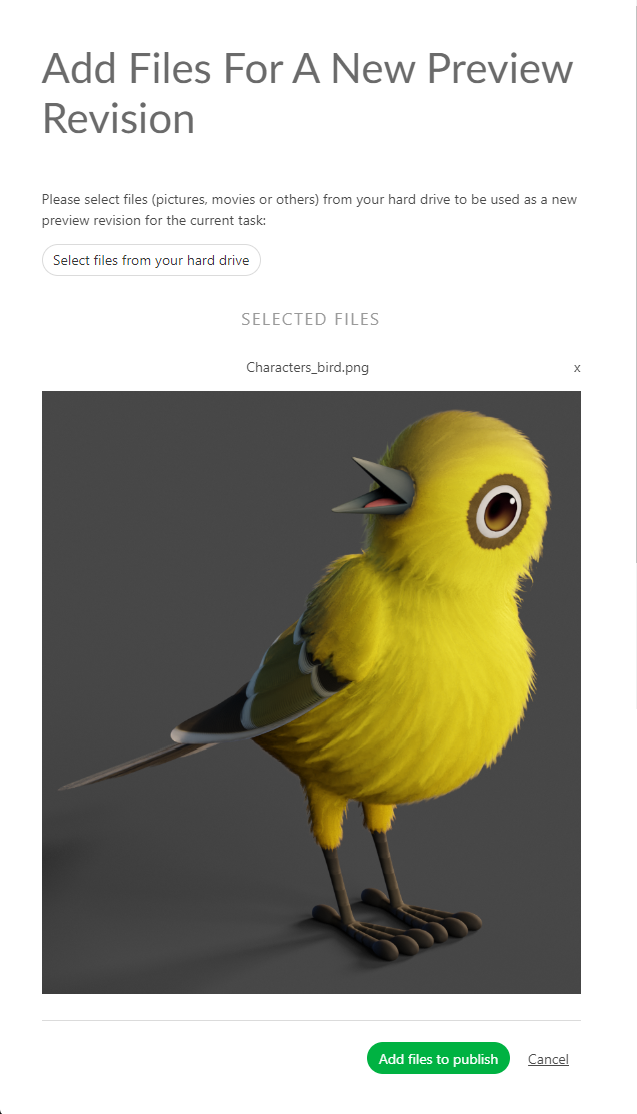
Once your file is selected, you will see its name near the Attach preview button.
You can also drag & drop the file in the comment section.
On top of your preview, you can add a Comment.
Click the Leave a Comment button to unfold the comment section.

You can select your status and publish your preview with the Post Button.
# Add a Thumbnail by hand
To define a preview as a thumbnail, the preview MUST have been uploaded as a revision.
To publish a preview, picture, or video, select the PUBLISH REVISION tab on the task's comment panel.
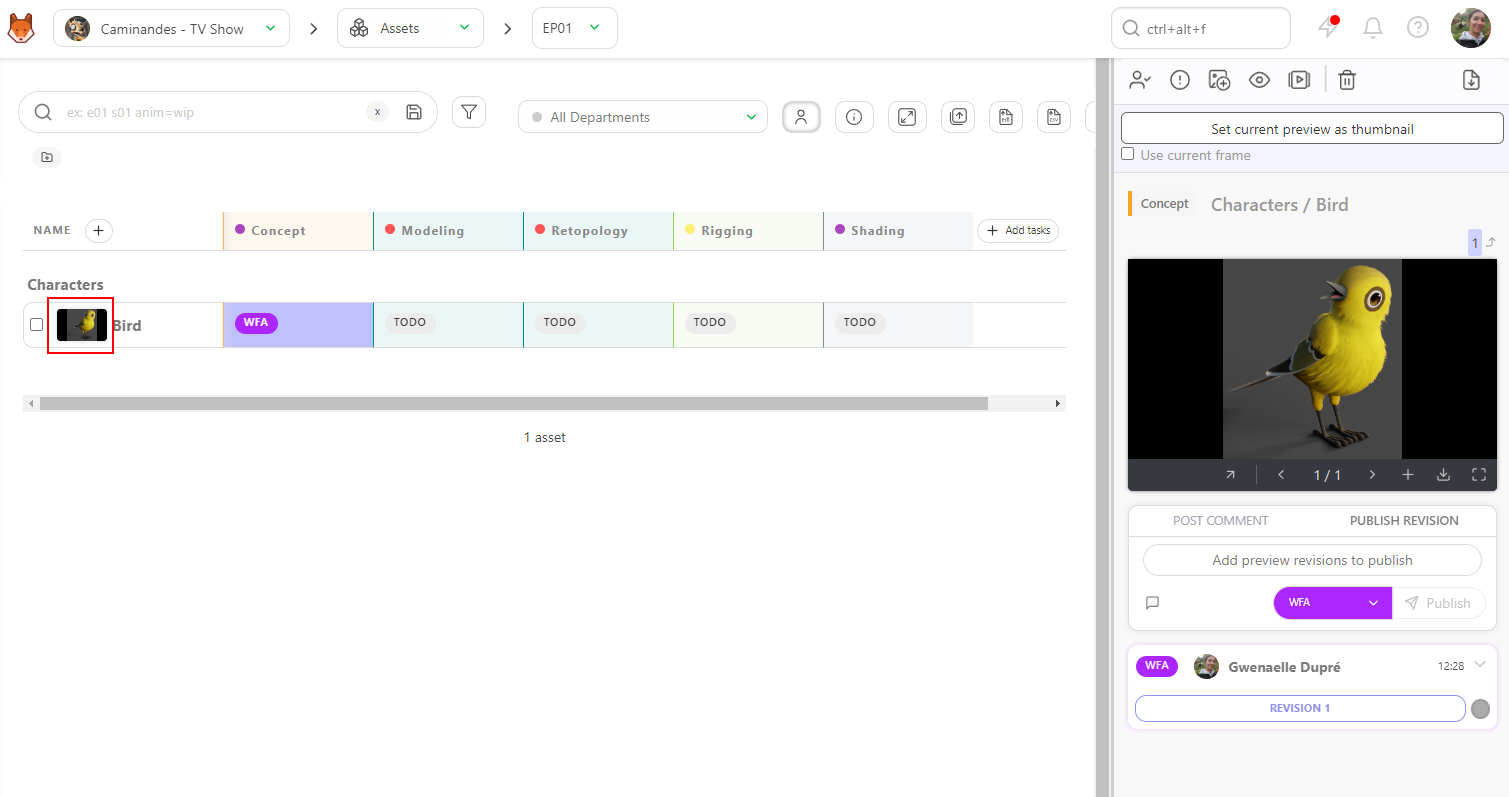
You can use the preview as a thumbnail on the asset or shot task. It helps to recognize the assets/shots on the main pages. On the list page, click on the status you want, then click the Preview button (1) on the right panel.
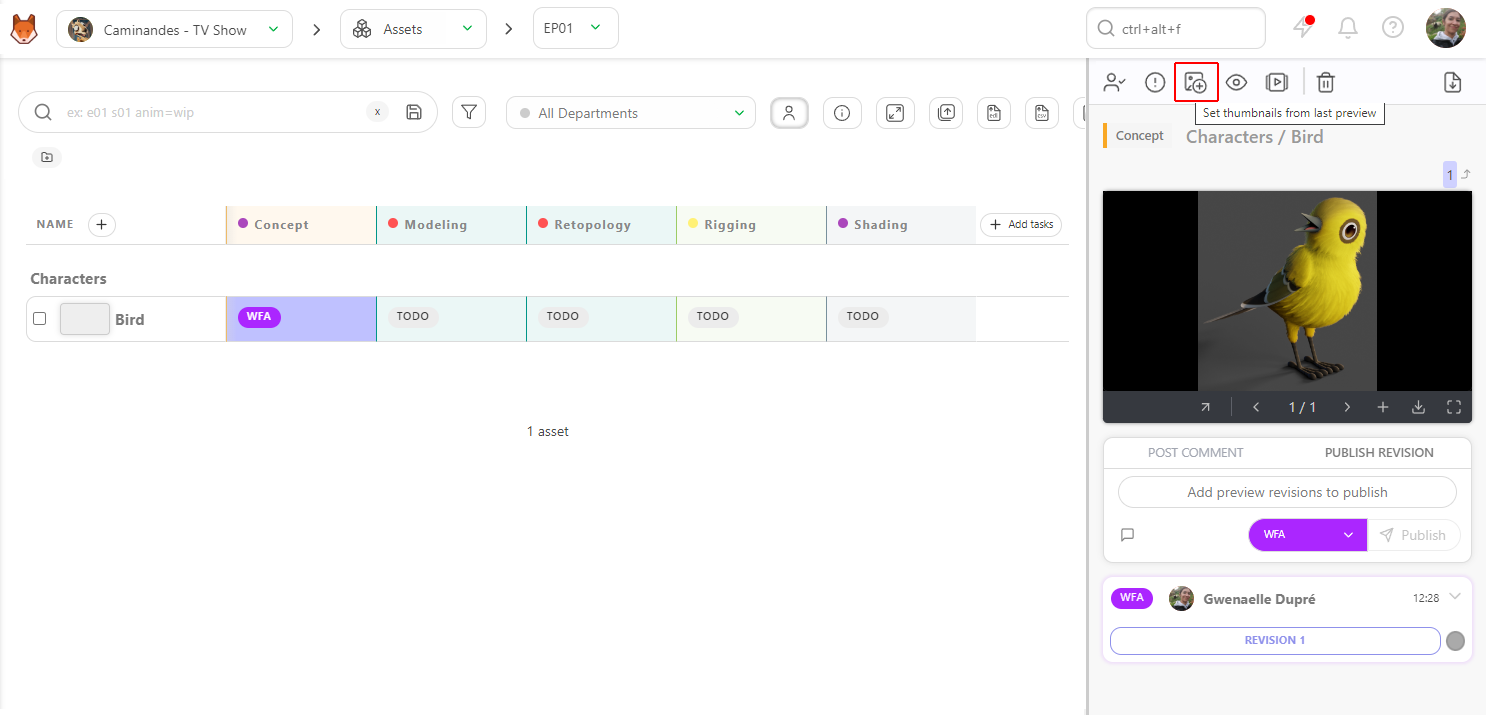
Once you click on the button, you can choose to pick the first or any frame; once the frame is selected, the thumbnail appears, and the button turns gray.
# Apply thumbnail automatically
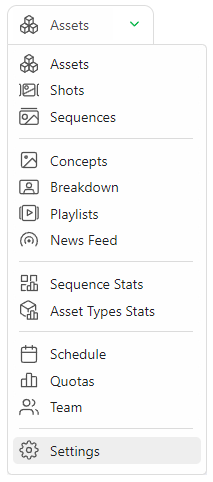
On the production, use the navigation menu to go to the settings page
On the Parameters tab, you can choose to set new preview as entity thumbnail automatically.
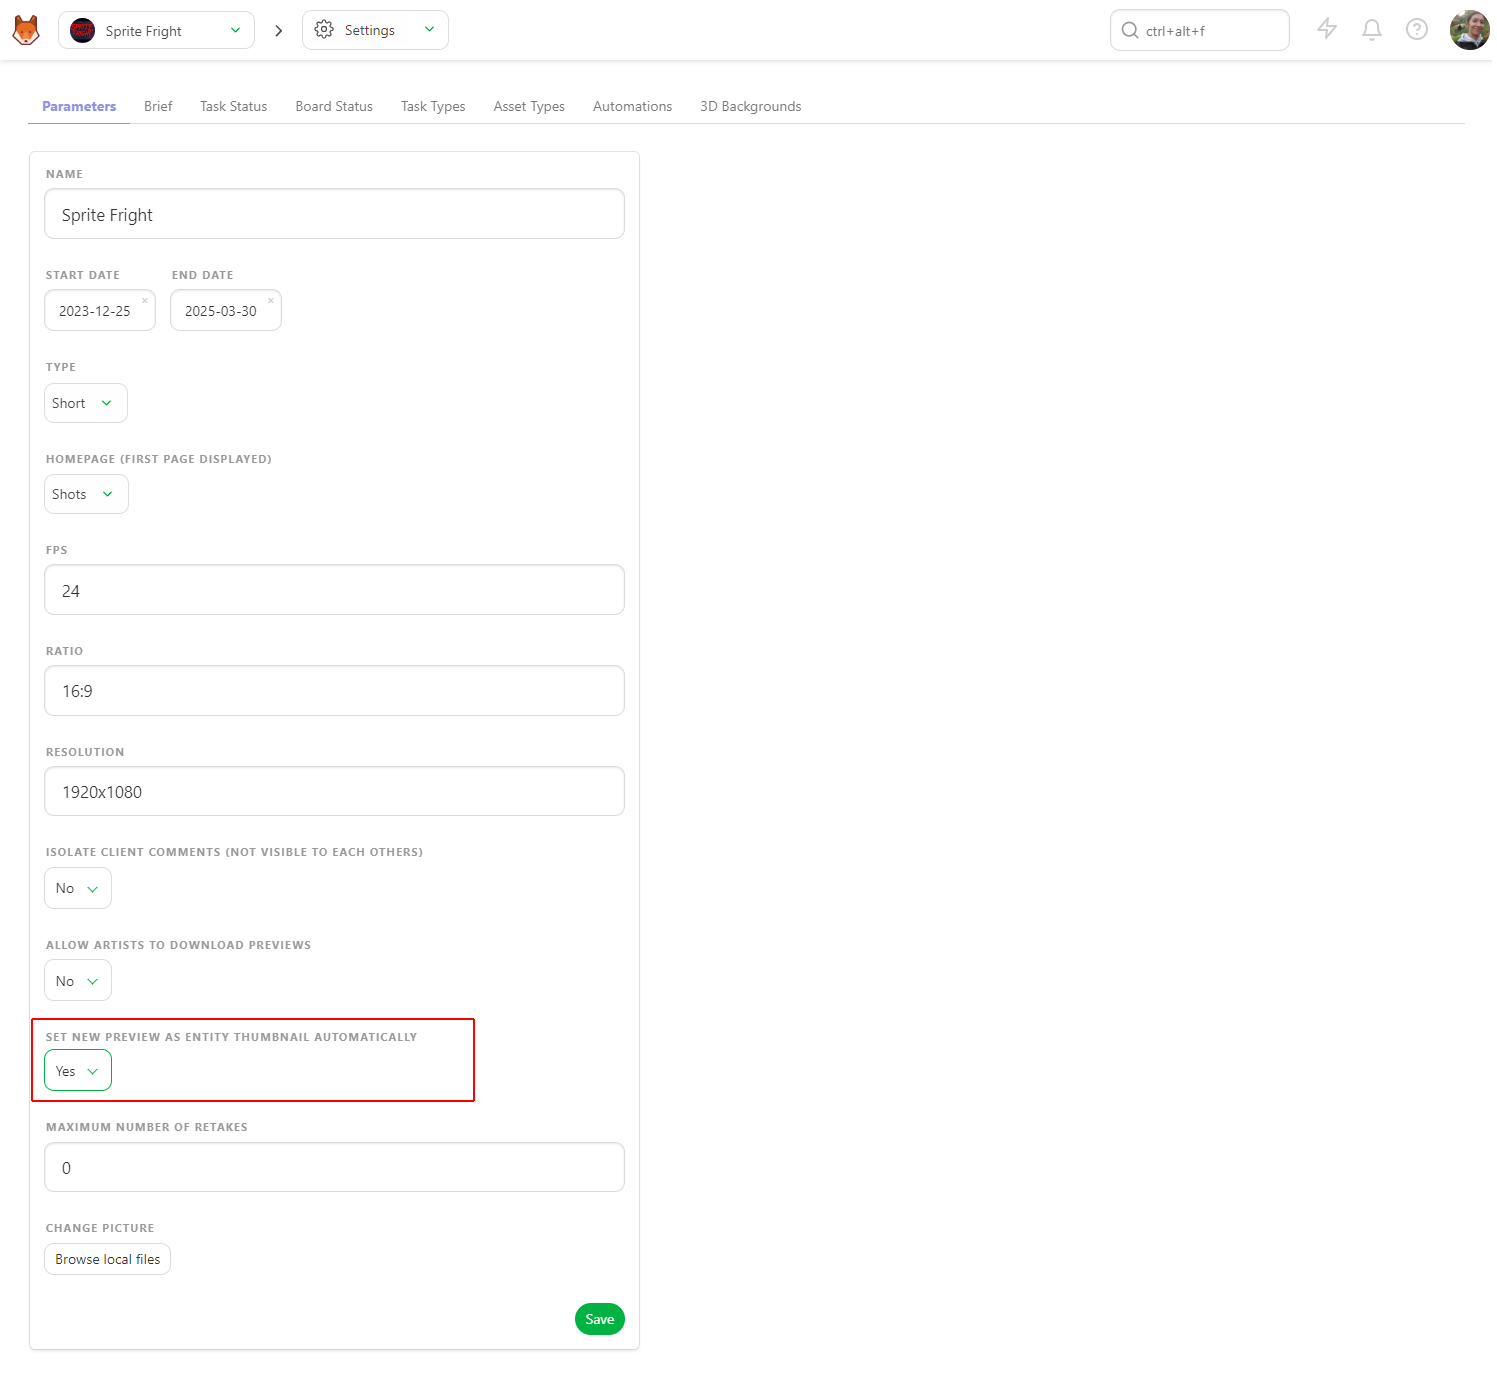
Don't forget to Save. Now, as soon as you upload a preview, it will be used automatically as a thumbnail.
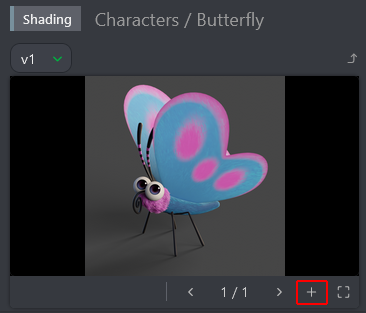
# Add Multiple Previews as one Version
You can add multiple images simultaneously, or once you have uploaded an image, you can add another one.
The Add preview pop-up asks you to choose a file.
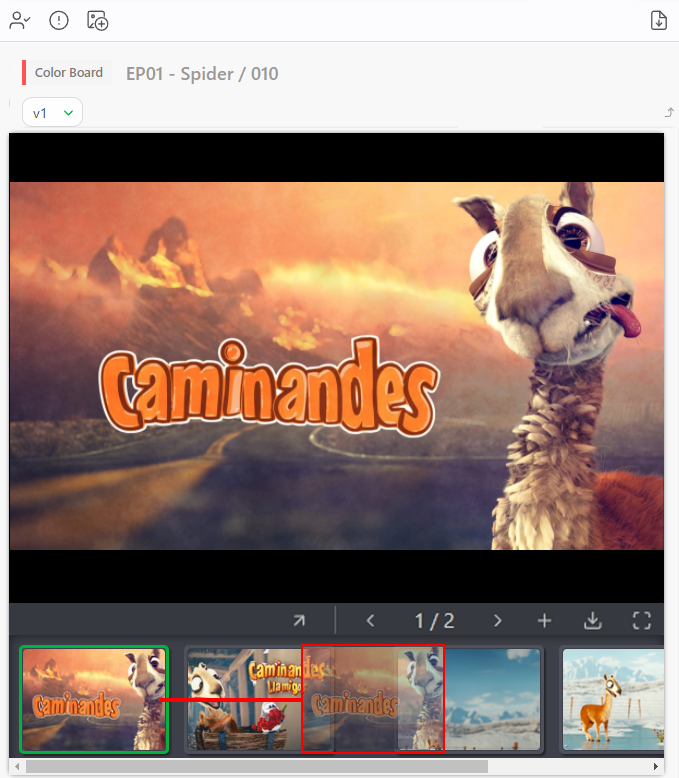
You can navigate through the pictures uploaded.
You can change the preview order by clicking the number and then dragging and dropping them.
To delete an additional preview, you need to enlarge the comment panel by dragging it and clicking on the number of versions.
And then click on the 
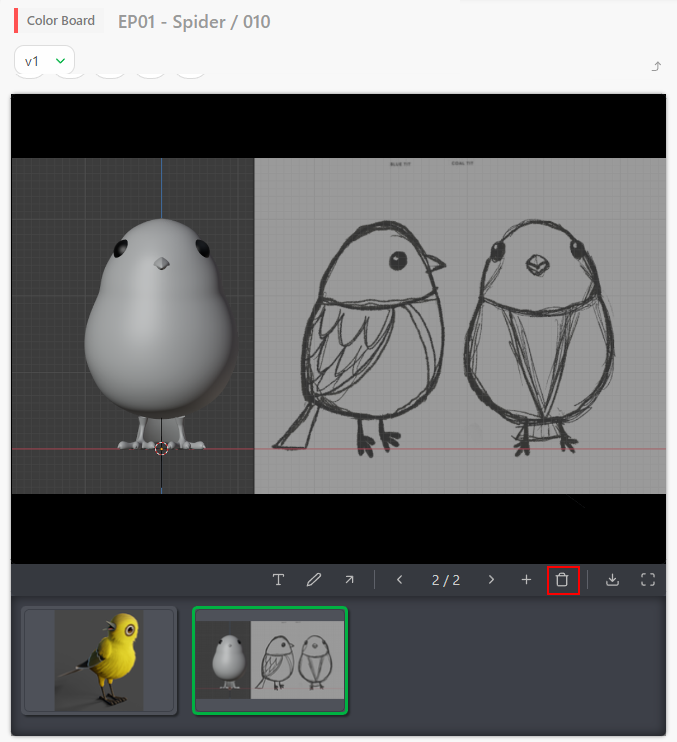
# Batch Upload Previews (as Thumbnails)
You can use the Add Thumbnails button  on the global page to massively import thumbnails.
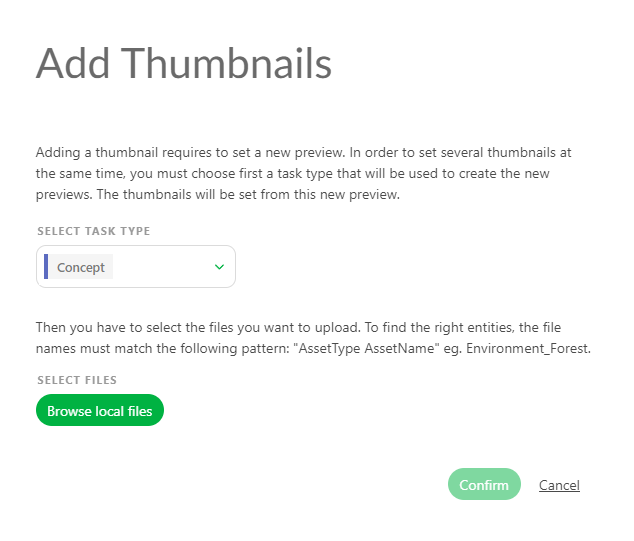
A new pop-up opens and asks you to choose which task types the thumbnails are linked to.
Thumbnails batch import accepts image files and video files.
Only the first frame is used as the thumbnail for the video files.
You have to name your thumbnails as sequence_shot.